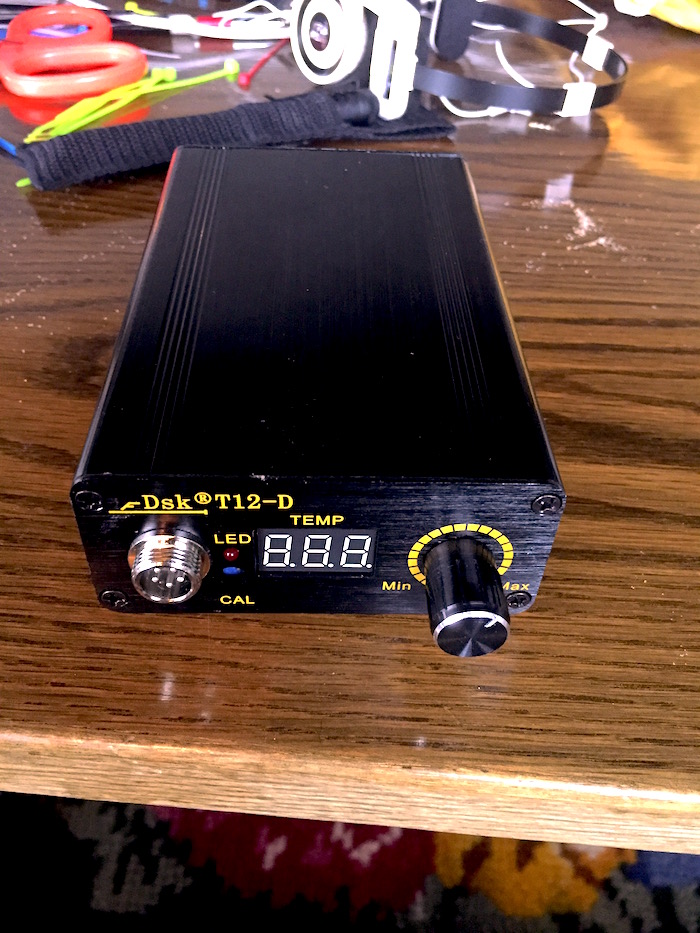
Building the Hakko T12 controller
I recently bought this kit from aliexpress
It includes a controller board for managing the temperature of a Hakko T12 tip, the soldering iron which is just a socket for holding the T12 tips, a vibration switch for timing out in case the operator forgets to turn it off, and a comfortable rubberized handle (exterior modeled after the Hakko 907).
Firstly I turned on my old soldering iron, set the timer on my watch to 5 minutes, and waited.
Once it was heated up, I started by soldering the included LED to the main board, then the DIN-esque connector.
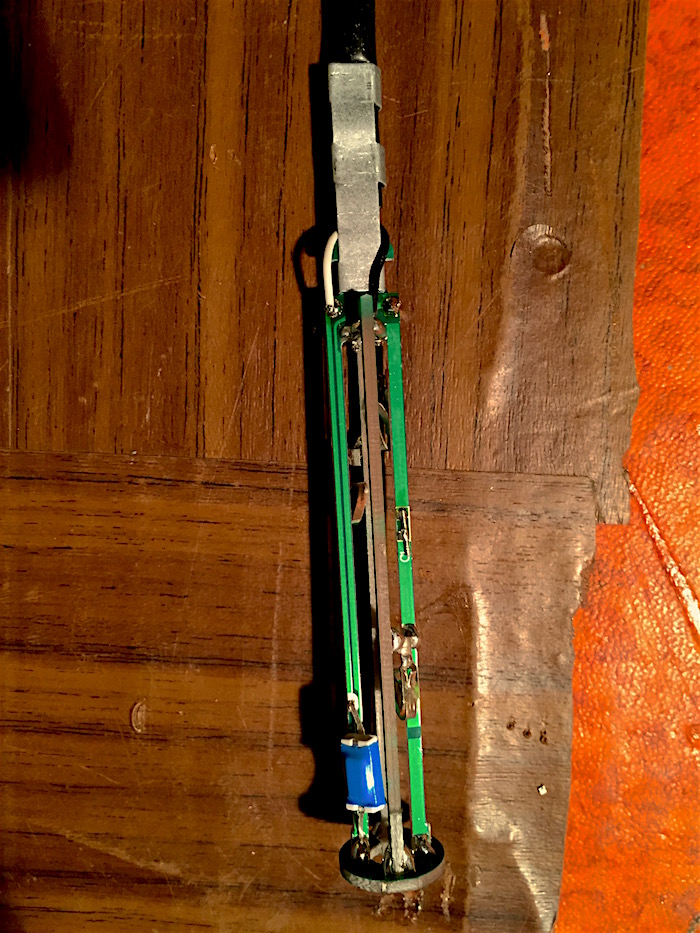
I attached the vibration switch to the T12 socket, since I didn't have a SMD capacitor, I just cut off a resistor leg and created a short.
Then I attached the 5-core silicone cable to the T12 socket; since neither end was connected to anything, I just went by this arbitrary coloring system:
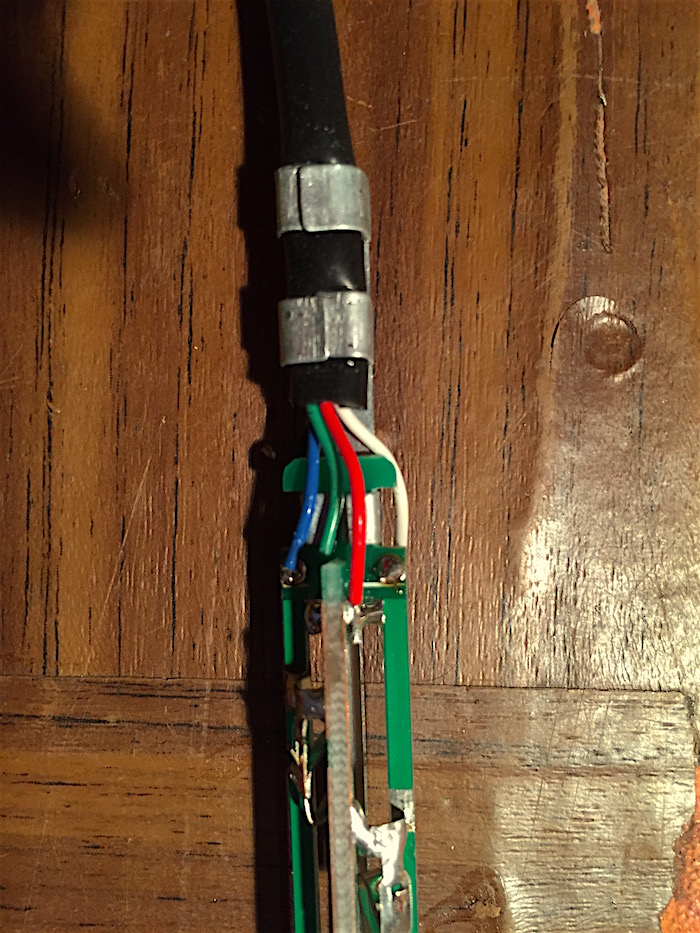
| black | Ground |
| red | Heater element + |
| green | Heater element - |
| blue | Vibration switch - |
| white | Vibration switch + |
As you can see in this image, we have G, E, -, +, and SW.

| - | Heater element - |
| + | Heater element + |
| E | Ground |
| SW | Vibration switch + |
| G | Vibration switch - |
Yeah, I wouldn't have gotten that either.
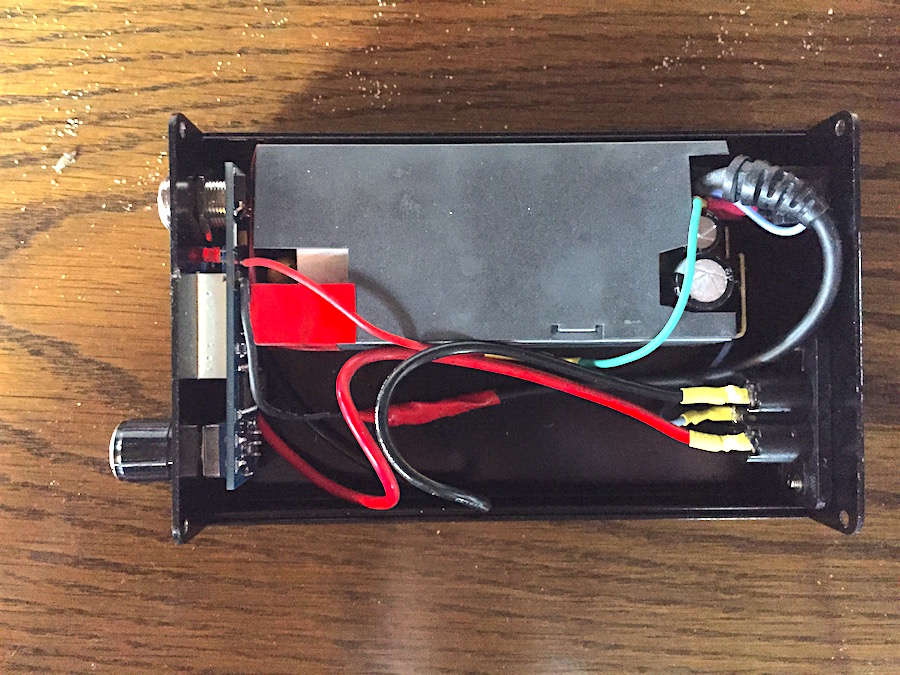
After I connected all the wires, I found an old laptop charger, dismantled it, connected it to the board, and it booted up. Since I had already bought a case for it, I figured I would be able to fit the power supply in there, but sadly, it didn't.
I scavenged for another smaller supply, and found one, it didn't fit unless I ripped it down to to the bare minimum size, and even then I had to fit the mounted power switch inside the charger.
I think my favourite part about the T12's is that the heater element is within the tip, so if something breaks it's most likely a matter of getting a new tip.
Bottom line; get this kit, it's cheap as dirt and you end up with a good soldering station.
And now for what all of you have been really looking for, the pictures.